Proper exterior house painting preparation begins with a thorough pressure wash to remove debris, followed by scraping loose paint and repairing any surface damage. This process also requires priming bare wood and caulking gaps to ensure the new finish bonds correctly and provides lasting protection.
Nothing is more frustrating than watching a fresh coat of exterior paint begin to flake and peel after only a few seasons. Many homeowners assume the longevity of a finish depends solely on the quality of the paint, but a lasting result is actually determined long before a brush ever touches the siding. In the demanding Utah climate, where intense UV rays and freeze-thaw cycles constantly stress your home, shortcuts during the initial stages lead to inevitable failure. At Gobes Painting, we understand that eighty percent of a professional finish is hidden beneath the surface. This guide breaks down our meticulous preparation process. You will learn how deep cleaning, surgical surface restoration, and precision caulking work together to create a weatherproof seal. We also explain how high-quality priming ensures a bond that withstands the elements for years to come.
Why Preparation is 80 Percent of an Exterior Paint Job
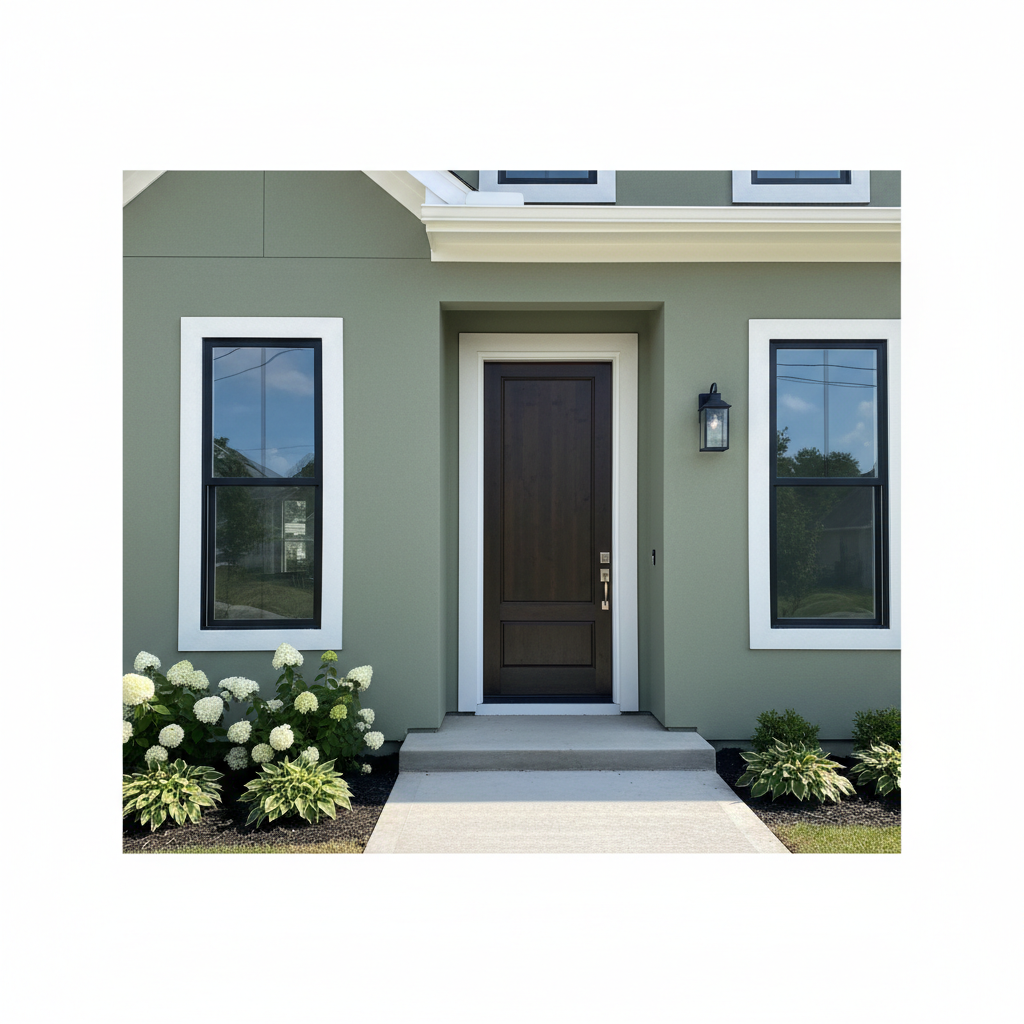
Many homeowners believe that a high-quality bucket of paint is the primary factor in a successful renovation. In reality, the final coat is merely the aesthetic finish; the true work lies in the exterior house painting preparation. A paint job is only as durable as the surface beneath it. While a fresh coat looks identical on day one regardless of the prep work, the difference becomes visible within twenty-four months. Thorough preparation determines if a finish will endure for a decade or begin peeling after just two winters.
At Gobes Painting, we view preparation as eighty percent of the total project. Fillmore homes face intense environmental stressors, including high-altitude UV radiation and drastic temperature fluctuations. If the substrate is not correctly addressed, moisture can become trapped behind the new layer, leading to wood rot or bubbling. Skipping steps like mechanical scraping or deep cleaning prevents the new coating from forming a permanent chemical bond with the material. Our process focuses on creating a sound, clean, and dry surface, ensuring that all residential and commercial painting services we provide remain stable against the elements. By prioritizing the foundation of the project, we prevent moisture intrusion and ensure that the premium materials we use can perform as the manufacturer intended.
The Impact of the Utah Climate on Exterior Surfaces
Fillmore sits at an elevation that exposes residential and commercial structures to intense, high-altitude ultraviolet radiation. Over time, these UV rays break down the chemical binders in paint, a process known as chalking. If you run your hand across your siding and a powdery residue comes off on your fingers, you are seeing oxidized paint. This chalk is a primary obstacle in exterior house painting preparation. A standard quick wash is insufficient because any remaining powder acts as a bond breaker. If a new coat is applied over this residue, the paint is essentially sticking to dust rather than the substrate, leading to systemic peeling within a few seasons.
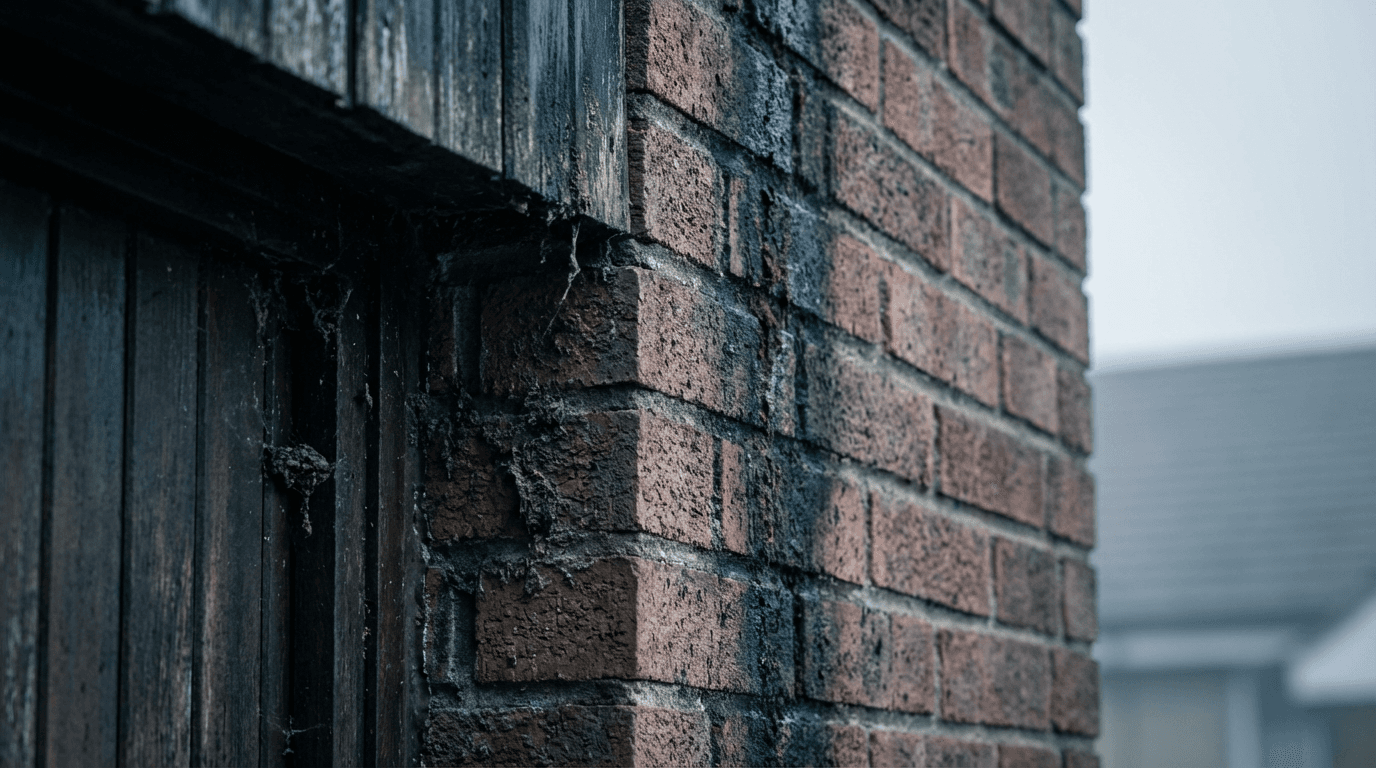
Beyond the sun, the extreme temperature swings in Central Utah present a mechanical challenge for any coating. Our freeze and thaw cycles are aggressive; as moisture enters microscopic cracks and freezes, it expands, putting immense pressure on wood siding and masonry. This constant expansion and contraction will snap brittle or poorly bonded paint layers. We frequently observe these failures in our past exterior projects where previous, non-professional applications failed to account for substrate movement. Proper preparation in this climate requires the total removal of oxidized material and a deep understanding of how local materials react to the cold. By ensuring the surface is surgically clean, we allow the new finish to integrate with the surface, providing the flexibility needed to survive Utah’s volatile weather patterns.
Step 1: Deep Cleaning and Professional Pressure Washing
The first active phase of exterior house painting preparation involves a comprehensive deep clean. A common question homeowners ask is, "Should you pressure wash before exterior painting?" The answer is a definitive yes. A thorough wash removes accumulated dirt, mildew, and airborne salts that naturally settle on siding. Without this step, the new coating sits on a layer of debris, which eventually causes the paint to delaminate and flake away.
However, professional pressure washing differs significantly from a DIY approach. Renting a high-pressure unit and standing too close to the substrate can result in "fuzzing" wood fibers or stripping away soft grain. Even more concerning is the risk of forcing water behind the siding or into soffits, which leads to hidden moisture pockets and potential mold growth. Our team utilizes specialized nozzles and cleaning agents to sanitize the surface without using excessive, destructive force during our residential and commercial painting services.
After the wash is complete, patience is required for the drying phase. While Fillmore's dry air and low humidity typically allow for a 24 to 48 hour drying period, we do not rely on a calendar alone. We use professional moisture meters to verify that the substrate is sufficiently dry before moving to the next stage. Applying paint to damp wood or masonry traps moisture under the film, which will inevitably lead to premature failure as that water tries to escape.
Step 2: Surface Restoration (Scraping, Sanding, and Repairs)
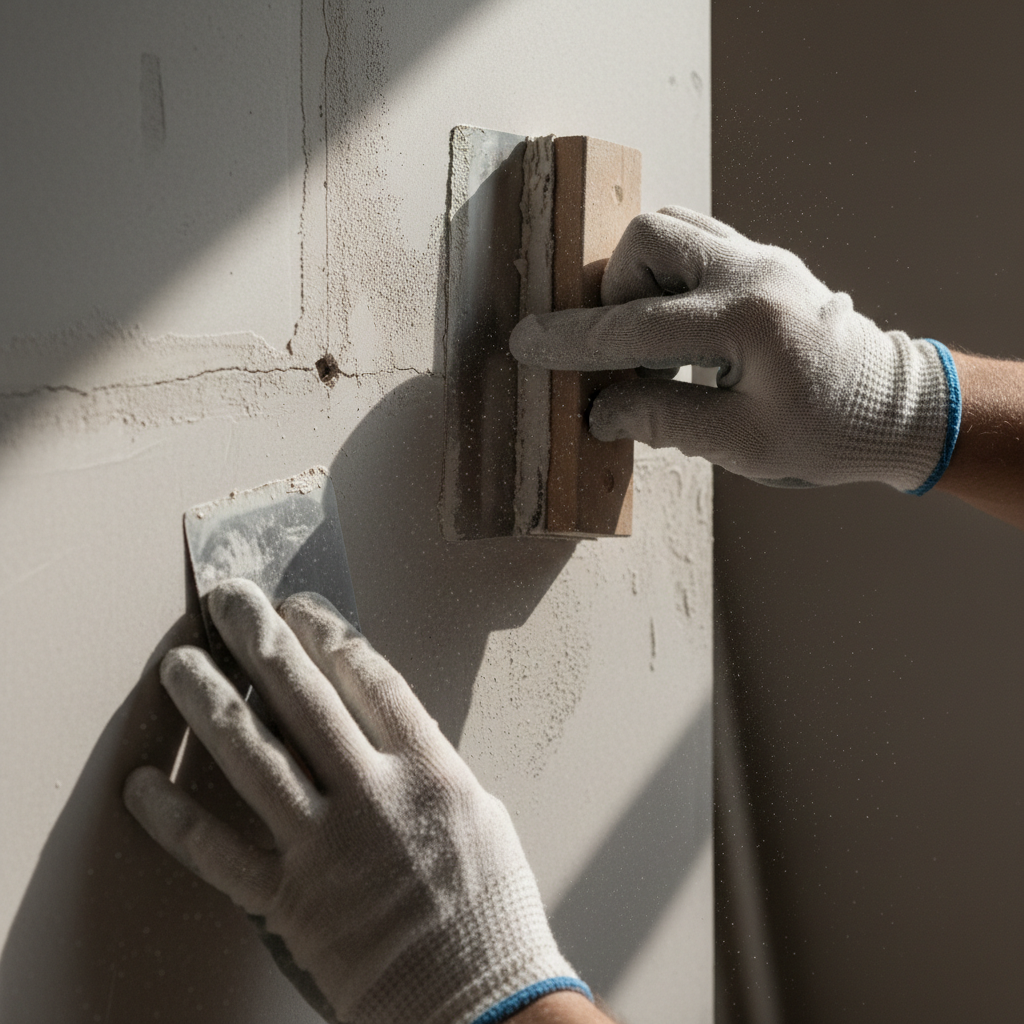
Once the substrate is dry, the meticulous work of mechanical restoration begins. We use professional carbide-tipped scrapers to remove flaking or loose paint that the pressure washer did not dislodge. This is labor-intensive manual work, but it is necessary to reach a stable, non-friable layer. However, scraping alone leaves sharp, unsightly ridges where the old paint ends and the bare wood begins.
To address this, we employ feather sanding. This technique involves using specialized hand sanders to wear down the edges of the remaining paint until they blend seamlessly into the substrate. By creating this smooth transition, we ensure the new coating does not highlight the outlines of old failures, a common issue seen in lower quality past exterior projects. This artisanal phase, where you might envision a painter’s hands meticulously sanding a corner to perfection, ensures the surface is uniform to both the eye and the touch.
Restoration also involves addressing structural imperfections that compromise the finish. In Fillmore’s climate, wood siding often develops cracks or loses resin from wood knots. We manually fill these voids and address minor siding damage using high-grade wood fillers or exterior-rated epoxy compounds. Every knot must be sealed and every crack smoothed before the first drop of primer touches the wall. This level of detail is a cornerstone of our exterior house painting preparation, distinguishing professional residential and commercial painting services from a standard quick coat. Proper restoration acts as the bridge between a cleaned surface and a fully protected home.
Step 3: Sealing and Caulking for a Weatherproof Finish
With the substrate smooth and repaired, the next phase of exterior house painting preparation focuses on moisture management. Caulking serves as a vital seal against water intrusion and air leaks. Our team inspects and fills gaps where window frames meet siding, around door trim, and at the junctions where different materials, such as wood and masonry, intersect. Because Fillmore experiences dramatic shifts between summer heat and winter freezes, we utilize premium elastomeric caulk. This material is designed to stretch and compress, maintaining a seal even as the structure expands and contracts without cracking.
Professional application requires careful discretion. While sealing gaps is critical, we never block the weep holes at the bottom of siding panels. These small openings are engineered to let trapped moisture escape; closing them can lead to rot and mold behind the surface. By applying these technical standards to our residential and commercial painting services, we protect the structural integrity of your property. This attention to detail ensures that the upcoming layers of primer and paint form a cohesive, weatherproof envelope around the building.
Step 4: High-Quality Priming (The Essential Bond)
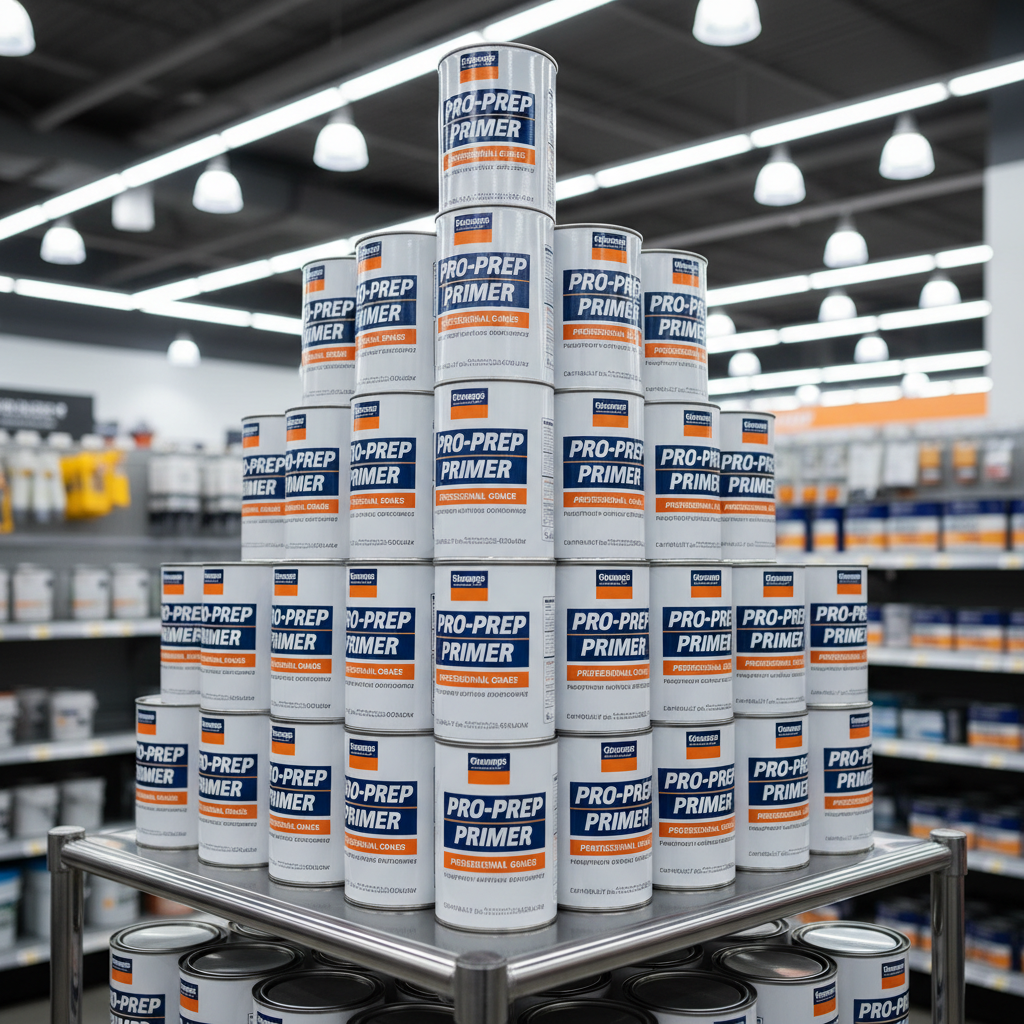
Once the gaps are sealed and the moisture envelope is established, the final phase of exterior house painting preparation involves creating a chemical bridge between the substrate and the finish coat. Homeowners often ask if it is necessary to prime the entire exterior. The professional answer is nuanced; while spot priming may suffice for well-maintained surfaces, any bare wood, repaired siding, or areas transitioning between high-contrast colors require specific primers to ensure longevity.
We match the primer chemistry to the specific challenges of the surface. Oil-based primers remain the standard for blocking tannins in wood like cedar or sealing deep stains, as they penetrate the fibers to prevent future discoloration. For masonry or surfaces requiring extra flexibility, we utilize high-build acrylic primers. These products are particularly effective in Fillmore because they provide an extra layer of protection against the intense, high-altitude UV rays that otherwise degrade the bonding surface. As shown in our primer application process, the goal is a uniform, matte foundation that prevents the topcoat from being absorbed unevenly. This step is a non-negotiable component of our residential and commercial painting services, ensuring that the final color remains vibrant and the bond remains intact despite the volatile Utah weather.
DIY vs. Professional Preparation: Is the Savings Worth the Risk?
Homeowners often consider the DIY route to save on labor costs. However, thorough exterior house painting preparation is a grueling task that typically consumes four or more weekends for the average Fillmore property. A typical DIY project relies on consumer-grade equipment that lacks the pressure and precision of industrial tools. While an amateur might focus on visible peeling, our professional team has the trained eye to identify structural vulnerabilities, such as hidden wood rot or failing seals, that an amateur might accidentally paint over.
Feature | DIY Preparation | Gobes Painting Professional Prep |
|---|---|---|
Estimated Time | 4 to 6 Weekends | 3 to 5 Days |
Tool Grade | Consumer Rental | Industrial/Commercial |
Expected Lifespan | 2 to 4 Years | 8 to 12 Years |
Risk Detection | Surface Level | Structural/Rot Identification |
The financial reality is that a professional job lasting a decade is far cheaper than a DIY effort requiring a redo in three years. Investing in professional residential and commercial painting services ensures that the high-cost materials you purchase actually stay on the wall. You can review our past exterior projects to see how this technical rigor pays off. To secure a durable finish, contact Gobes Painting for a detailed assessment.
Exterior Painting Prep FAQ
Understanding the technical nuances of exterior house painting preparation helps homeowners in Fillmore manage expectations and long term maintenance. Even after the surface is ready, specific environmental and application rules dictate the success of the project.
How many coats of paint should be applied after primer? For maximum durability, we recommend two full coats of premium paint. While a single coat might achieve visual coverage, it rarely provides the necessary dry film thickness to withstand Utah’s high-altitude UV radiation. Two coats ensure uniform color and a robust wear layer that protects the substrate for years.
What is the best temperature for exterior painting? Ideal conditions are temperatures above 50 degrees Fahrenheit. It is equally important to avoid working in direct, blistering sun. Intense heat causes the paint to dry too quickly, which prevents it from leveling properly and can lead to brush marks or poor adhesion. We schedule our residential and commercial painting services to follow the shade around a building whenever possible.
How long can primer sit before it needs to be painted? Ideally, the topcoat should be applied within 14 days of priming. Primer is formulated to be chemically receptive to paint, but it is not designed to be weather-resistant. If it sits exposed for too long, it begins to degrade and collect airborne contaminants, which can compromise the final bond. If you are curious about how these standards translate to real-world results, you can view our past exterior projects or contact Gobes Painting for a detailed consultation.
A long-lasting exterior finish is only as good as the work done before the first coat of paint ever touches the surface. Proper cleaning, scraping, and priming ensure your home stays protected for years to come. While these steps are labor intensive, they are essential for quality results. If you would prefer to let experts handle the heavy lifting, you can learn more about our dedicated team and our commitment to excellence. We are here to help you achieve a beautiful, professional finish without the stress of doing it yourself.