Proper interior painting preparation involves cleaning walls with a mild detergent, patching holes, and sanding surfaces to ensure a smooth, level base. After protecting floors and furniture, applying a quality primer is essential for achieving professional results and ensuring the paint adheres correctly to the surface.
Most homeowners begin a painting project by picking a color and immediately dipping a brush, but this rush often leads to visible drywall repairs, uneven textures, and paint that fails to adhere. You might feel the urge to see immediate progress; however, the durability of your investment depends entirely on the work performed before the first gallon is even opened. At Gobes Painting, we view preparation as the most critical phase of any high end interior project. This guide details our comprehensive, step by step process for achieving a flawless finish. You will learn how to protect your property, repair imperfections with precision, sand for ultimate smoothness, and apply the correct primer to ensure a bond that lasts. By following these professional standards, you ensure that your new aesthetic is supported by a perfectly stable foundation.
Why Interior Painting Preparation Is 80 Percent of the Job
A beautiful paint job is much like an iceberg. The final color everyone notices represents only a small fraction of the total work; the vast majority of the effort lies hidden beneath the surface. While homeowners often focus on selecting the perfect shade of sage or navy, the longevity and smoothness of the finish depend entirely on what happens before the lid is popped off the paint can. Skipping steps in the interior painting preparation process leads to peeling, uneven textures, and visible brush marks that no amount of premium paint can hide.
In Fillmore, our dry Utah climate adds a layer of complexity to the task. Low humidity causes paint to dry rapidly, giving it less time to level out over the wall. This quick drying time makes even minor surface imperfections, such as small bumps or leftover dust, significantly more visible once the project is complete. At Gobes Painting, we counteract these environmental factors through a philosophy of clean workmanship. We treat the initial stages of a project with as much respect as the final coat. As experienced painters in Fillmore, we know that a flawless result requires a disciplined approach to the foundation, ensuring that your investment in residential and commercial painting services results in a finish that looks better and lasts longer.
Step 1: Clearing the Room and Protecting Your Property
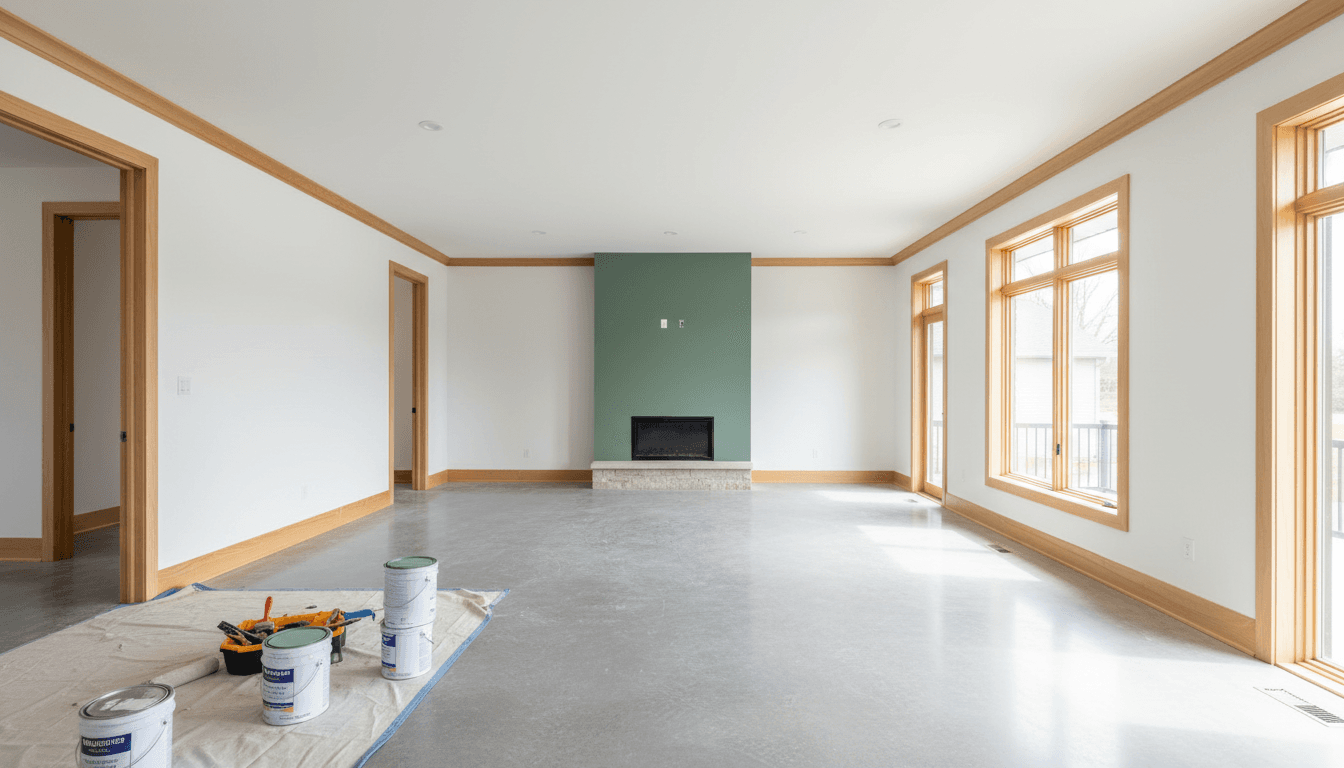
Interior painting preparation begins with creating a clear, accessible workspace. Before any paint is mixed, move all furniture to the center of the room. This provides a wide perimeter for movement and ensures that ladders or spray equipment can be positioned correctly. To safeguard these items from fine dust or accidental splatters, cover the central pile with thin plastic sheeting and secure the edges.
For floor protection, professional standards dictate the use of heavy duty canvas drop cloths. Unlike plastic, which is slippery and allows paint to pool, canvas stays in place on hardwood or carpet and absorbs drips immediately. This prevents the accidental tracking of paint into other rooms.
Small details often separate a high quality finish from a rushed job. Remove all hardware, including switch plates, outlet covers, and vent grilles, rather than attempting to tape over them. The lazy method of painting around covers creates unsightly ridges and messy edges that become visible the moment a plate is shifted. By exposing the entire wall surface, you ensure a clean, continuous application. This disciplined approach to clearing the room prevents ruined upholstery and guarantees that every inch of the wall receives a professional level of attention.
Step 2: Cleaning Walls for Maximum Adhesion
Homeowners frequently ask if professional painters actually wash the walls before starting. The answer is a definitive yes. Even in a home that appears tidy, walls accumulate invisible layers of dust, cobwebs, and oils from frequent contact with hands. If these contaminants are not removed, they create a physical barrier between the substrate and the new coating, leading to poor bonding and eventual peeling. Surface cleanliness is a non-negotiable part of high-quality interior painting preparation.
For most living areas, a simple solution of warm water and a mild detergent is sufficient to remove surface grime. However, kitchens and dining areas require a more aggressive approach. Cooking grease aerosolizes and settles on surfaces, creating a slick film that most standard paints cannot penetrate. In these spaces, using a TSP (Trisodium Phosphate) substitute is necessary to cut through the lipids and provide a tacky surface that facilitates maximum adhesion. This chemical cleaning ensures the paint grips the drywall rather than sitting on top of a layer of grease.
Living in Fillmore presents a unique challenge due to the surrounding environment. Our local desert landscape produces an extremely fine silt that permeates even well-sealed homes. During your cleaning process, pay close attention to horizontal surfaces such as baseboards, crown molding, and the tops of door casings. This fine desert dust often settles in these crevices and can be stirred up by brushes or rollers, contaminating the wet paint and ruining the finish. A thorough wipe down with a damp microfiber cloth ensures these areas are grit-free. Taking the time to decontaminate every surface ensures that the residential and commercial painting services we provide result in a bond that lasts for years.
Step 3: Repairing Holes, Cracks, and Drywall Imperfections
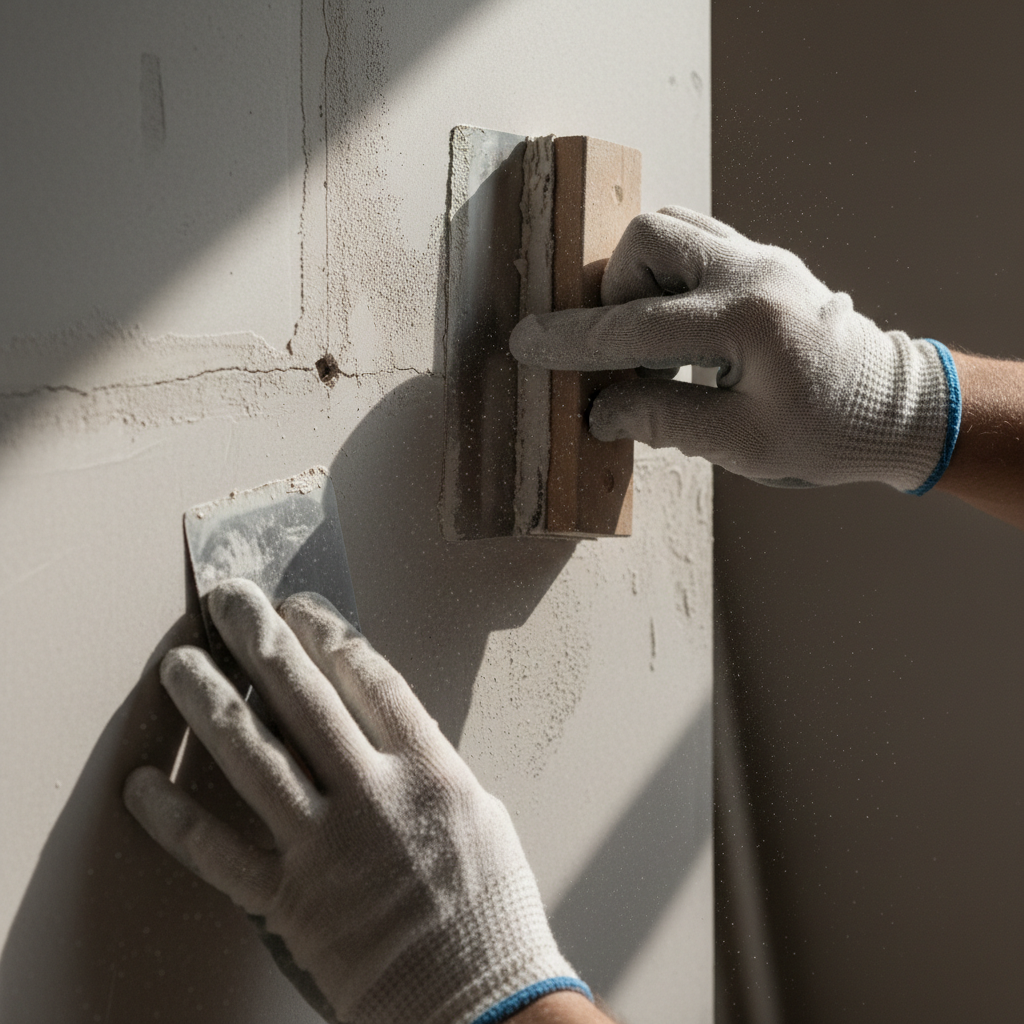
Once the dust and oils are removed, the structural integrity of the substrate becomes the priority. Learning how to repair drywall before painting is essential because a fresh coat of paint often highlights physical damage rather than hiding it. Minor imperfections, such as tiny nail holes from old picture frames, are easily addressed with a high quality lightweight spackle. These products dry quickly and experience very little shrinkage, making them ideal for small, localized repairs that can be finished in a single pass.
Larger issues require a more robust approach. In Millard County, the shifting soil often causes homes to settle, resulting in hairline cracks that typically radiate from the corners of door frames and windows. These structural shifts demand the use of fiberglass mesh tape combined with joint compound. The tape provides the necessary reinforcement to bridge the gap, while multiple thin layers of compound create a new, solid surface. Attempting to fill these larger gaps with spackle alone usually results in the crack reappearing within a few months.
The secret to a professional repair is the feathering technique. Instead of simply filling a hole, you must spread the joint compound several inches beyond the edges of the damage. By using a wider taping knife with each successive coat and gradually thinning the material as you move outward, you eliminate hard edges. This ensures the repair tapers perfectly into the surrounding wall. Without proper feathering, the patch will manifest as a visible bump or a dull spot once the topcoat is applied. For homeowners who find extensive settling or large holes daunting, experienced painters in Fillmore can ensure these repairs are handled with the precision needed for a smooth finish. Taking these steps during the interior painting preparation phase prevents the frustration of seeing old cracks reappear shortly after the project is finished.
Step 4: The Art of Sanding for a Smooth Finish
After the joint compound from your repairs has fully cured, sanding transforms the surface from a patched wall into a seamless canvas. This stage of interior painting preparation requires a specific approach to avoid damaging the drywall paper. Use a medium fine sandpaper, typically between 120 and 150 grit. This range is aggressive enough to level out feathered joint compound but gentle enough to leave the surrounding wall intact.
Sanding serves two vital roles. First, it provides mechanical leveling for the physical repairs made in the previous step, ensuring the transition between the patch and the original wall is undetectable to the touch. Second, it creates a surface known as "tooth." By scuffing the existing paint, especially if the old finish is semi gloss or satin, you create microscopic grooves that allow the new coating to grab hold. Without this scuffing, the fresh layer may struggle to bond, leading to premature peeling or sagging.
Dust management is the final hurdle in this step. Sanding creates a fine white powder that clings to every surface, including the wall itself. As experienced painters in Fillmore, we prioritize a clean workspace to avoid grit in the final finish. If left behind, this dust acts as a barrier that prevents paint from sticking. Once you finish sanding, use a vacuum to remove the bulk of the debris, then thoroughly wipe the walls down with a tack cloth or a clean, damp sponge. Ensuring the surface is pristine at this stage sets the foundation for the precision work of masking and taping.
Step 5: Professional Masking and Taping Techniques
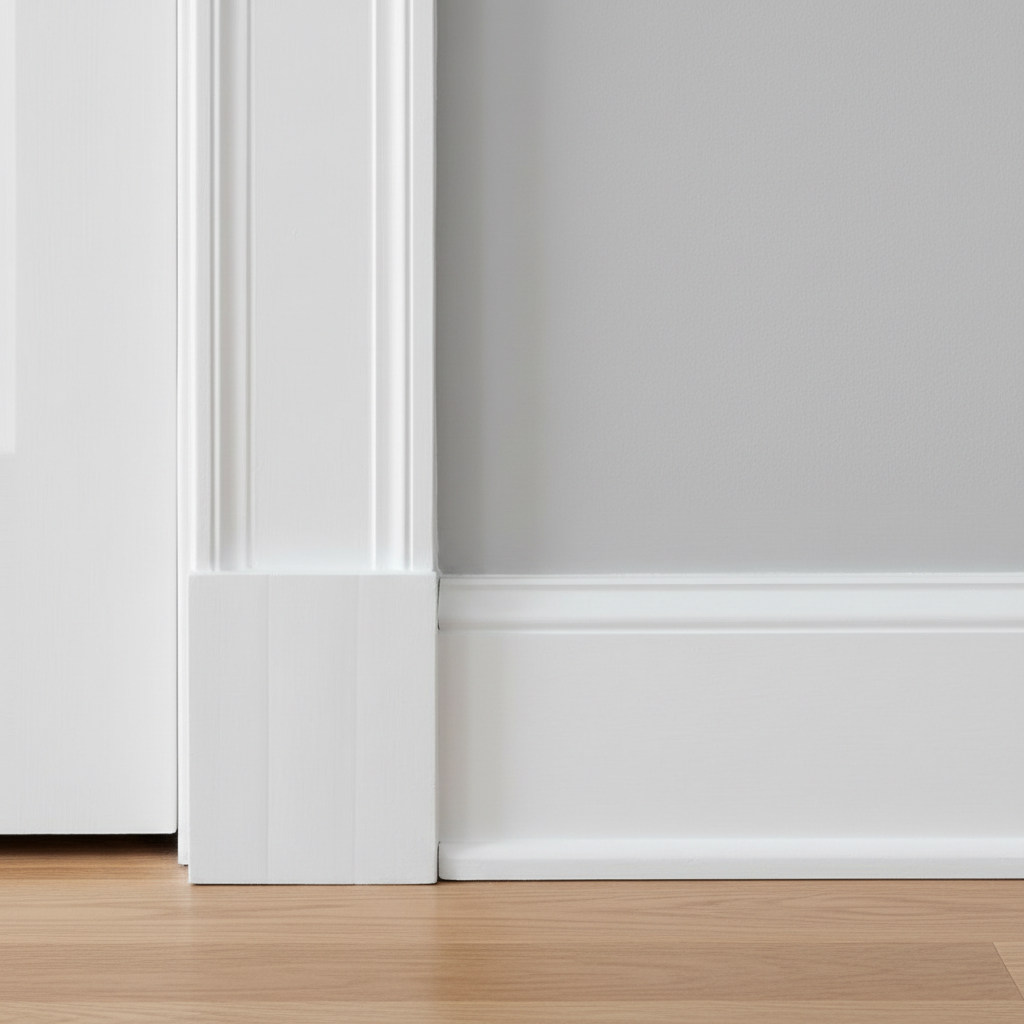
Once the walls are dust-free, you can begin the precise task of masking. This stage defines the boundaries of your work and protects areas where paint does not belong. Avoid standard cream-colored masking tape; its adhesive is often too aggressive for finished surfaces or too weak to prevent seepage. Instead, choose high-quality painter's tape like FrogTape or 3M Blue. These products are engineered to create a tighter seal and release cleanly without damaging the underlying surface.
Many homes in Millard County feature beautiful natural wood trims and baseboards. Protecting these surfaces is paramount, as paint splatters can permanently stain porous wood grain. To achieve a razor-sharp line, apply the tape in manageable sections, pressing the edge down firmly with a putty knife. A professional trick to prevent bleed-through involves sealing the edge by running a damp cloth over the tape or applying a very thin coat of the existing wall color over the tape edge. This creates a physical barrier that prevents the new color from creeping underneath. Experienced painters in Fillmore use these methodical steps to ensure that when the tape is pulled, the transition between the wall and the trim is perfectly straight. This level of detail is a hallmark of professional residential and commercial painting services.
Step 6: Choosing and Applying the Right Primer
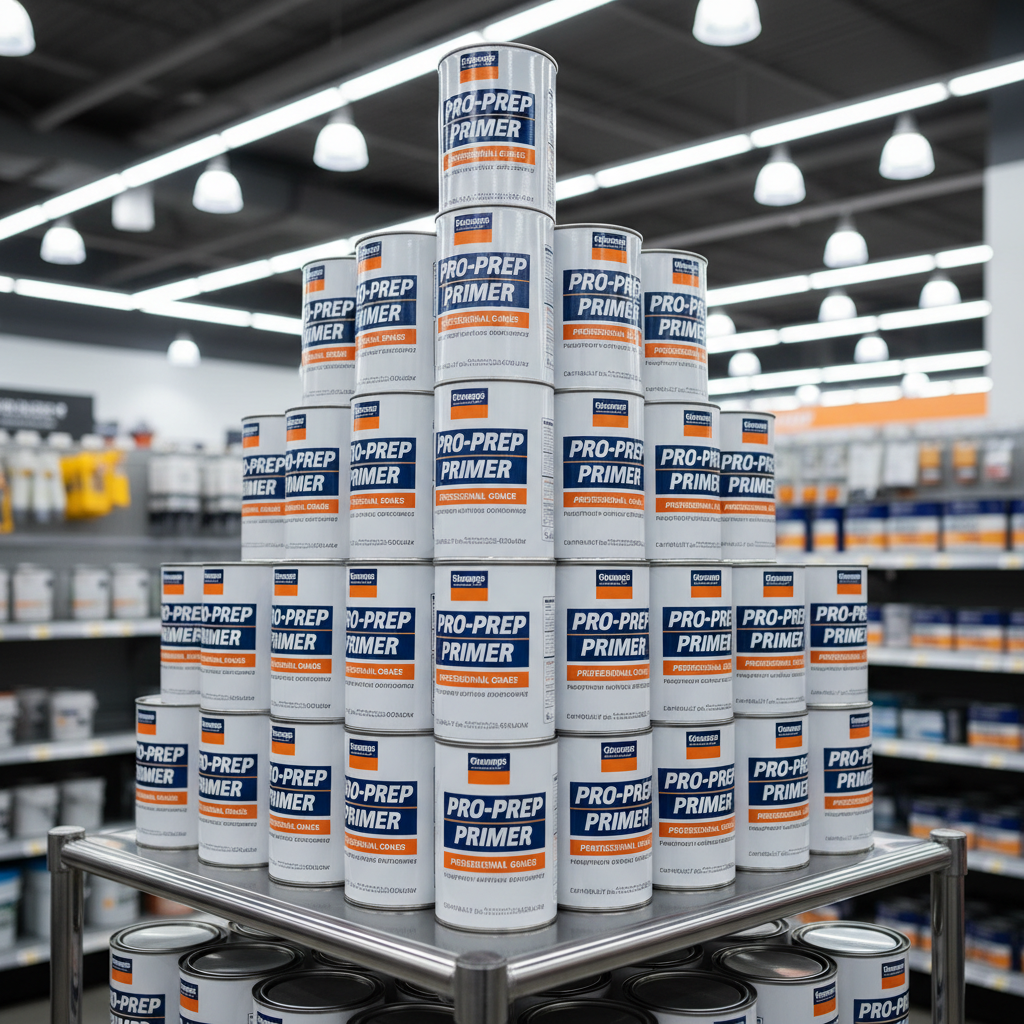
With your masking complete, the final step of interior painting preparation before the color coat is priming. Homeowners often ask what happens if they don't prime a wall. Skipping this step usually leads to poor adhesion, which causes the paint to peel or flake prematurely. It also creates an inconsistent finish where the wall absorbs the paint unevenly, resulting in a splotchy appearance.
Priming is mandatory in several scenarios. When transitioning from a dark color to a light one, a dedicated primer blocks the previous pigment so you do not have to apply four or five coats of expensive finish paint. It is also essential for glossy surfaces; without a primer to provide bite, the new layer will struggle to bond. For new drywall or the feathered patches created in earlier steps, primer prevents a phenomenon called flashing. These porous repairs suck the moisture and resin out of the paint, leaving behind dull, flat spots that ruin the uniform sheen of the room.
While high-quality water-based primers are the standard for most interior jobs, certain problems require a specialized approach. If you are covering severe water stains or painting over natural wood trim where tannins might bleed through, an oil-based primer is necessary to create a permanent barrier. Experienced painters in Fillmore use these specific products to ensure that residential and commercial painting services deliver a result that stays vibrant for years. Selecting the correct sealer at this stage ensures the surface is fully stabilized for the final application.
When to Call a Professional for Your Interior Project
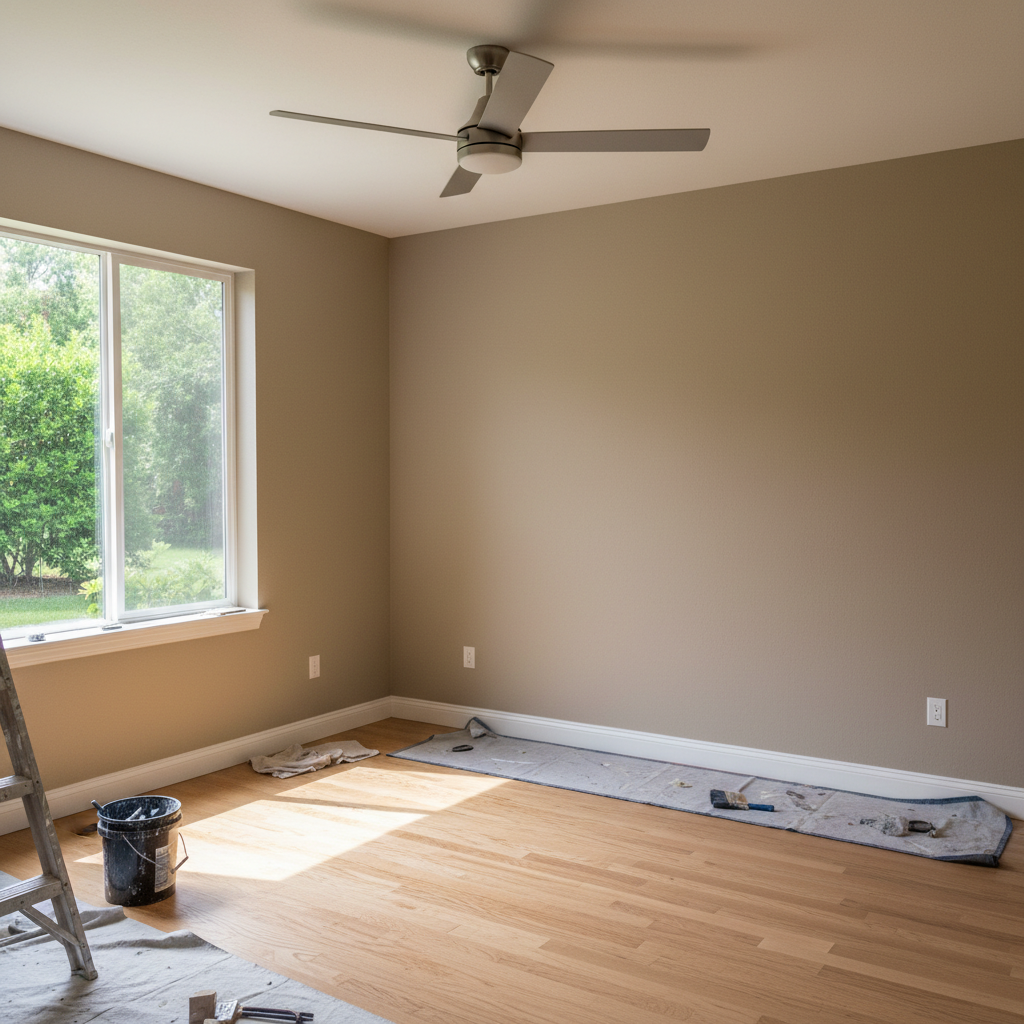
Determining if the scope of interior painting preparation exceeds your available time or physical ability is the final step before you begin. While a single small room is manageable for most homeowners, larger projects often reveal hidden complexities. For example, many newer builds in Fillmore feature vaulted ceilings or two story entryways. Safely reaching these heights requires professional grade scaffolding or ladders, alongside the physical endurance to work overhead for several hours. If your home has sustained significant settling damage beyond minor hairline cracks, the specialized knowledge required for structural drywall repair often warrants professional intervention to ensure the patches do not fail later.
Time is another critical factor. A thorough preparation phase can easily consume three or four days before a single drop of color is applied. By choosing residential and commercial painting services, you leverage high efficiency tools like industrial HEPA sanding systems and airless sprayers that produce a factory smooth finish in a fraction of the time. These modern tools minimize the spread of dust throughout your living space and ensure a consistent application that is difficult to replicate with manual rollers. If you prioritize a result free of lap marks and structural imperfections, the experienced painters in Fillmore at Gobes Painting can manage the entire labor intensive process. If you are ready to reclaim your weekend and ensure a durable, high quality outcome for your property, contact Gobes Painting to discuss your project requirements.